Recently added item(s)
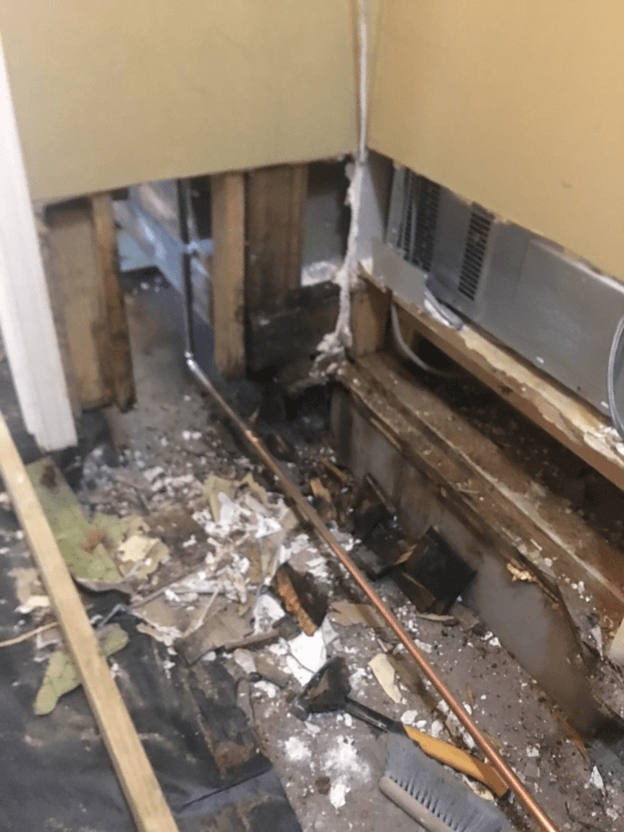
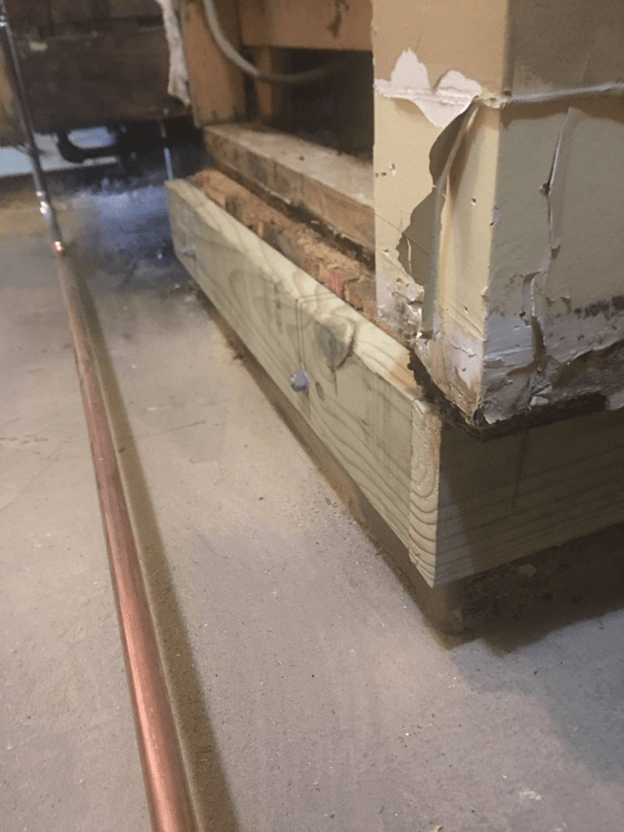
1. Step one, identify the problem and fix it: Customer bought a home from a house flipper and the person who sold it to them used PVC pipe instead of the copper pipe to vent the water heater. I found the mistake and had him fix the plumbing first then I rebuilt the whole floor system from scratch. The floor system was not engineered correctly either so I designed a new one based on the code. Yes, 2 different home inspectors missed this.
First copper plumbing line added to overflow: problem solved.
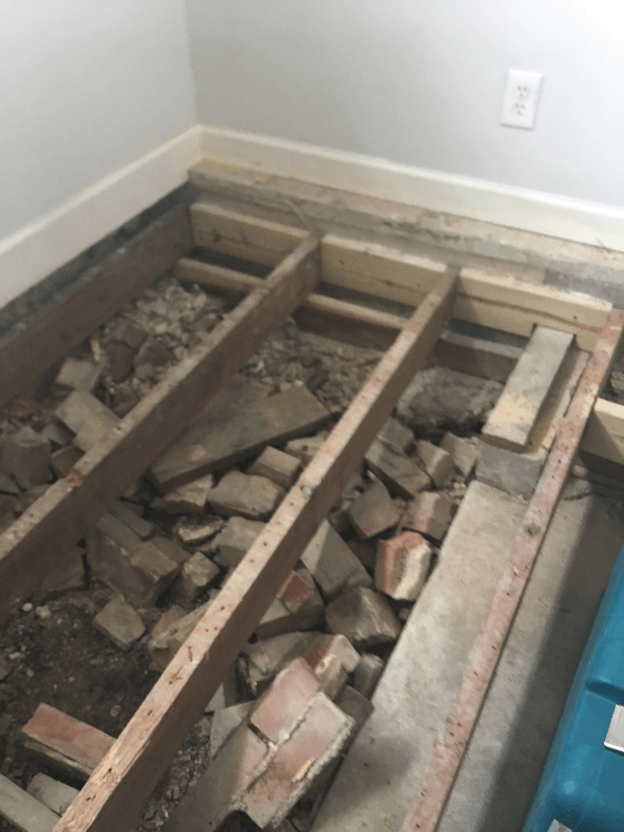
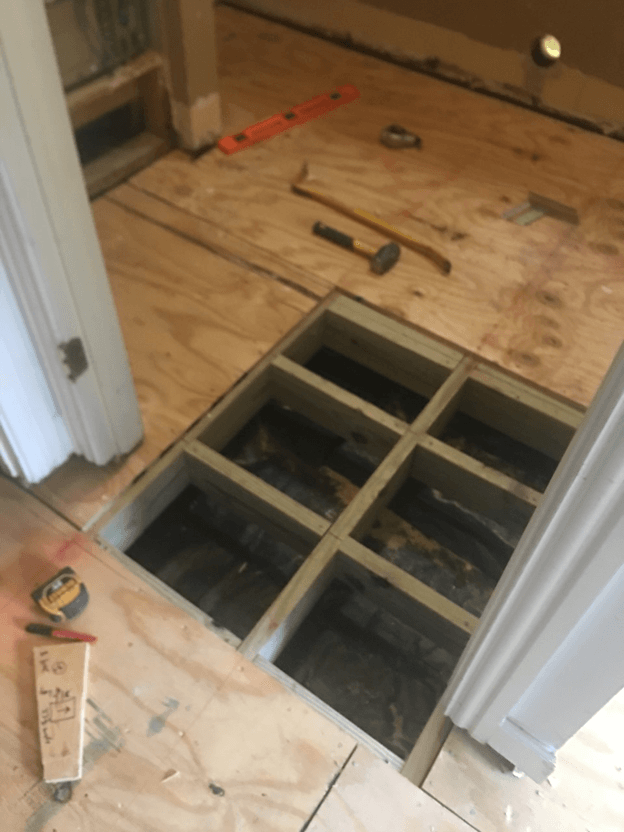
Next the arduous task of demoing the floor system.
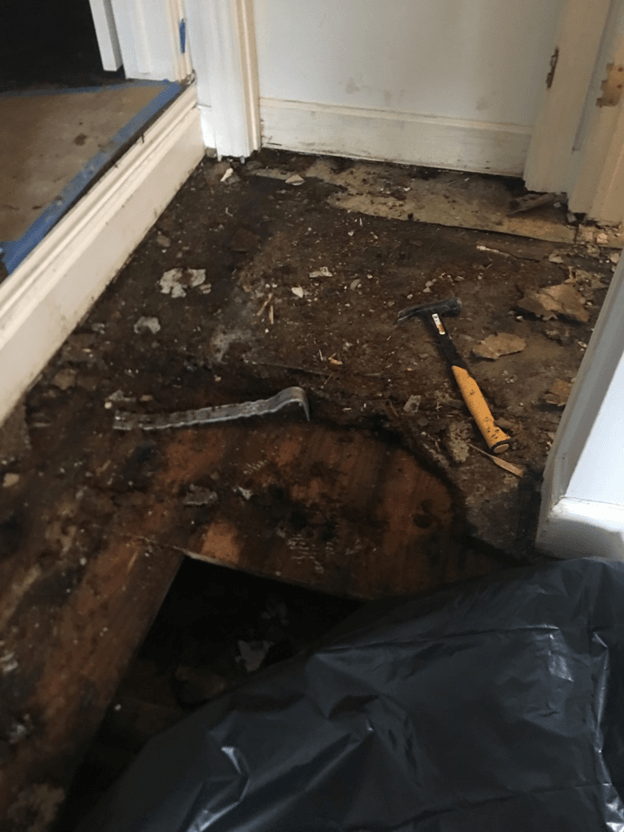
2. Demo Mold: The flooring system was in an advanced state of decay and was toxic and rife with black mold. I had to remove everything as it was toxic while running an air scrubber so as to contain the mold particulates.

3. Demo floor system: Not only did we have to demo the floor system but we had to clean up everything under the house. Red brick absorbs moisture and will help rot the floor joists as they did here. Brick absorbs water and then holds it without direct sun to dry it. Never ever let a contractor throw construction waste under your home.
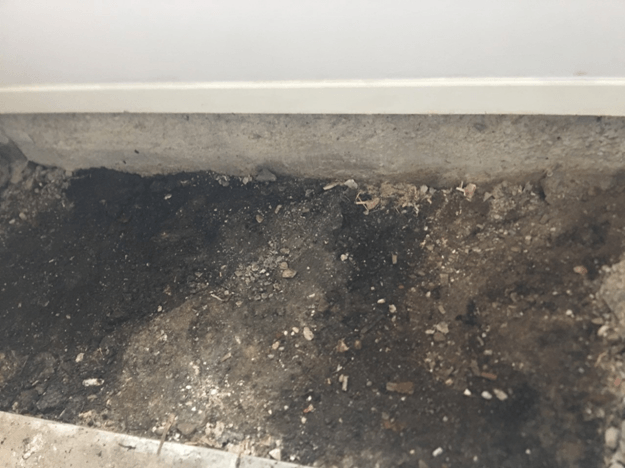
Before:
After: Nothing but natural dirt zero construction waste.
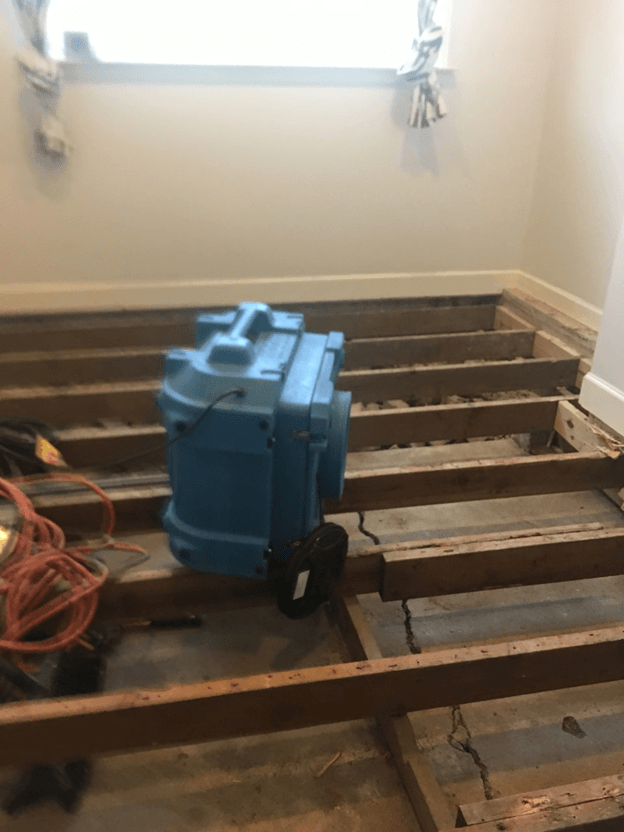
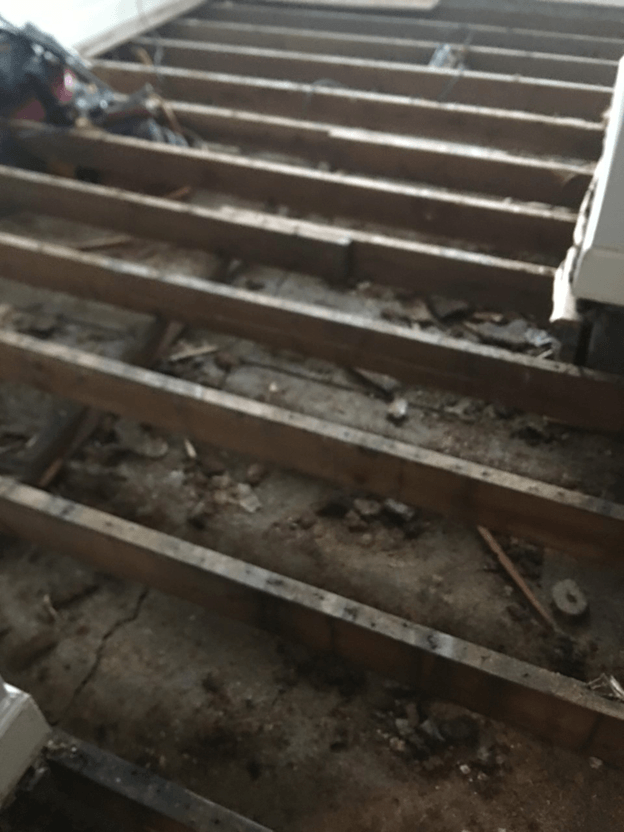
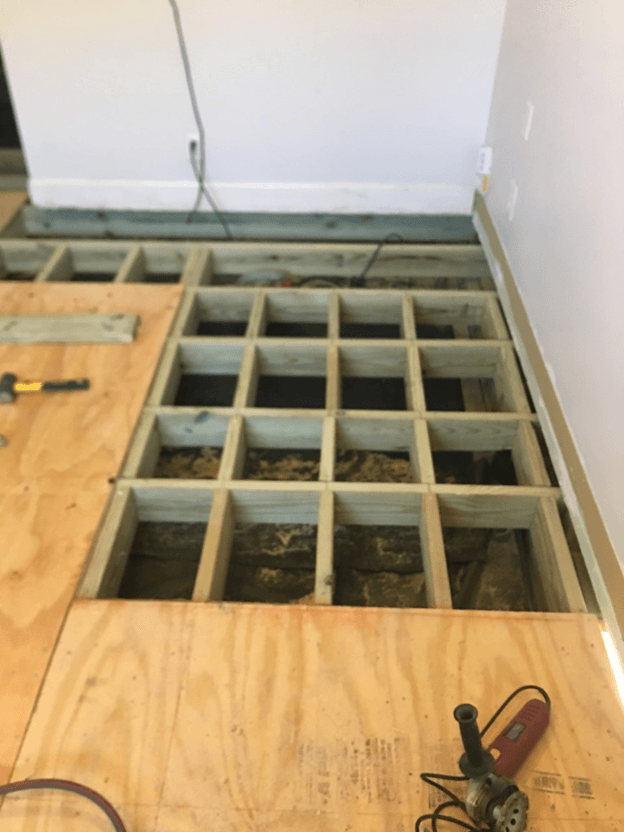
4. Demo structural floor joist they were rotten.
Existing flooring system completing wrong I ripped all this out. You can not join floor joist like this without steel hardware or be shorter than 4 feet in any direct at the point where the two joist combine to be one.
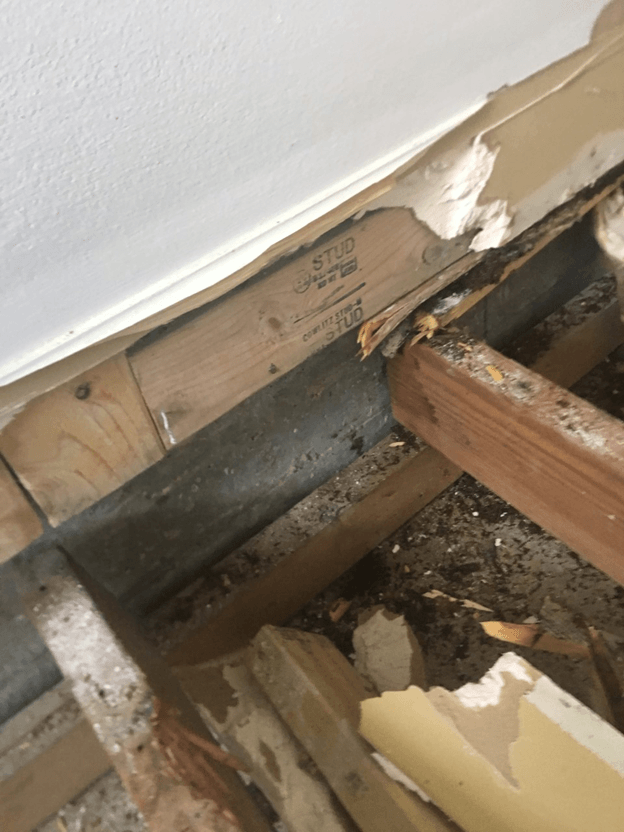
The existing joist system is not tied into the footing of the house. You can never lay a new joist system directly to the slab as the weight needs to transfer to the footings not the slab. In this case the slab could not hand the weight and cracked. Water flooded under this floor from the crack and exposed dirt. This floor system in order to do it correctly requires structural exposed anchor bolts.
Slab cracked from other contractors putting the joist system directly onto the slab and not tying into the footing.
5. Part one of the rebuild. I have to install structural anchor bolts 9 inches in from the corners and then every 4 feet. This is code. I try to use longer bolts like 5 1/2 inches up to 8 inches in length.
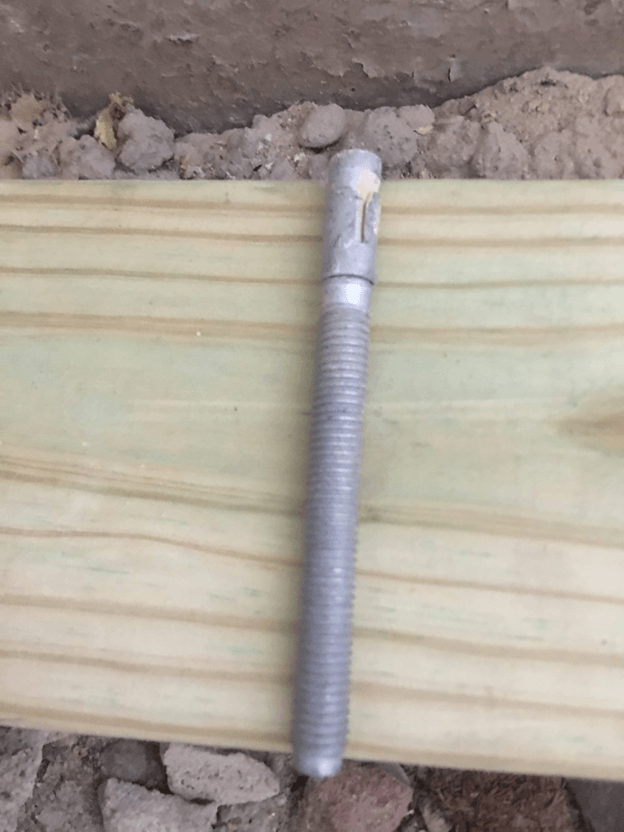
The anchor bolt is galvanized so it will not rust when touching the treated lumber. Treated lumber rusts nails, metal, or anything else and everything is galvanized. 99% of installers dont know this.
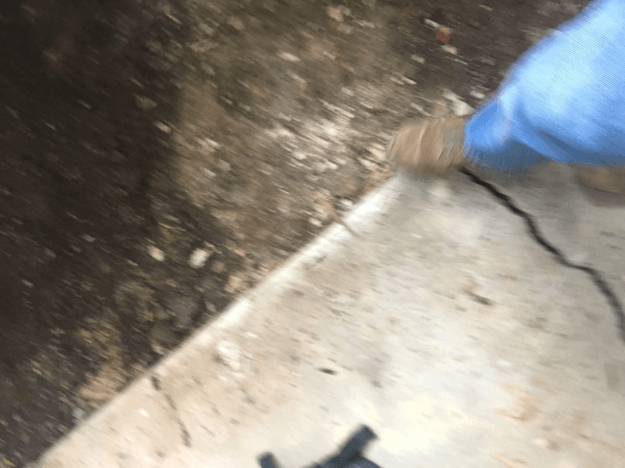
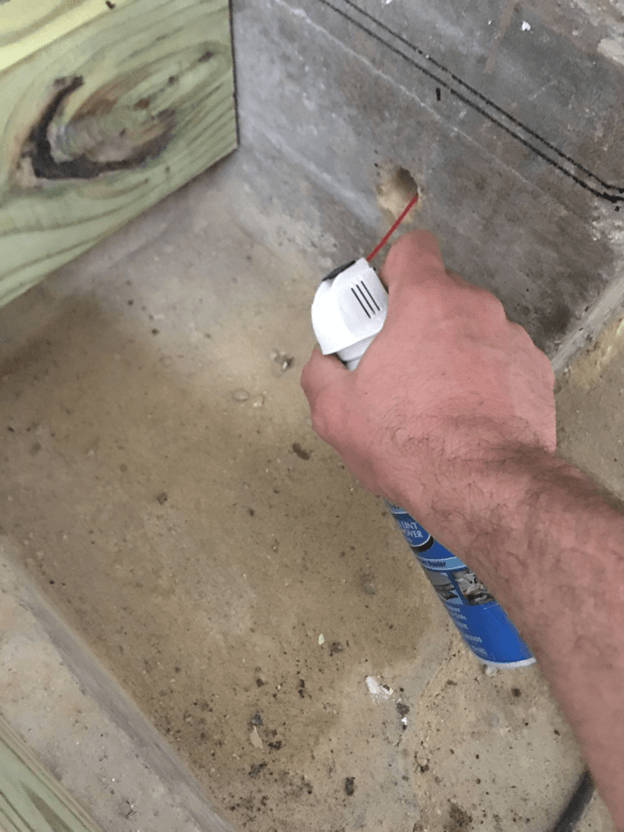
The holes are drilled into the concrete footing based on the floor finish height. It’s a lot of math. I use a 5/8″ drill bit to drill the hole for 1/2″ anchor bolts. Thus the hole is .12 inches bigger than the bolt to make room for the the epoxy. Always!!!! Always clean out your holes with compressed air and or vacuum after you drill them to remove the concrete dust or your epoxy will stick to the dust and not the metal anchor bolt. Where a mask and googles when you do this…. Concrete silica dust is toxic.
5.1 The epoxy we use is made by Hilti is the most expensive but has the best holding power if you have to conduct a pull test with an engineer after they are set.

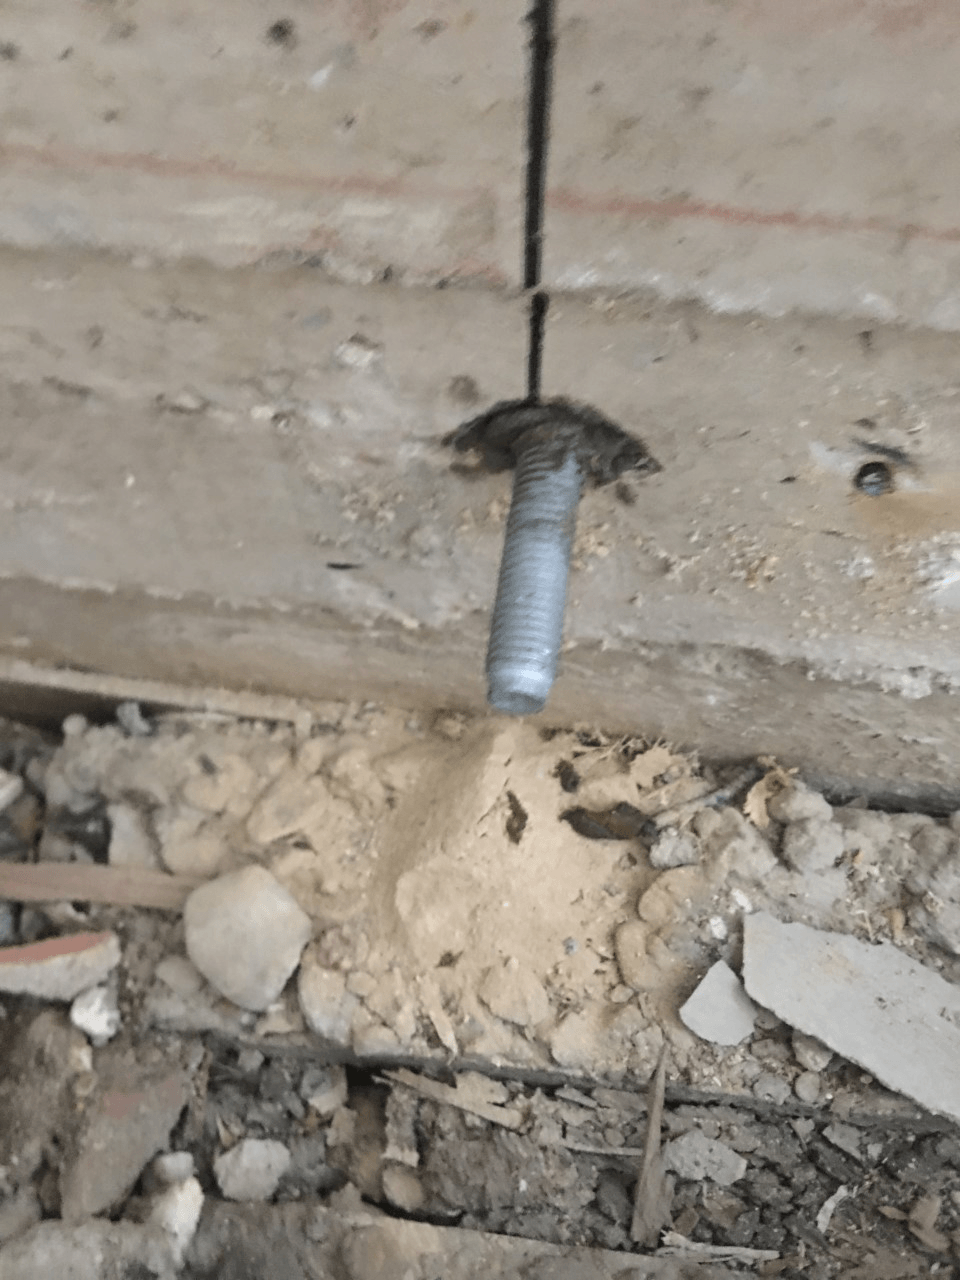
Put bolt in hole and make sure it is straight. The bolt is now set. Let sit over night to strengthen to full potential.
6. Next comes the treated wood ledger system you will need to tie your new joist system into. Dont screw this up or your whole floor system will be wrong.
Holes are drilled to fit layout of anchor bolts. Do not be afraid to start over with a new piece of wood if you make a mistake.
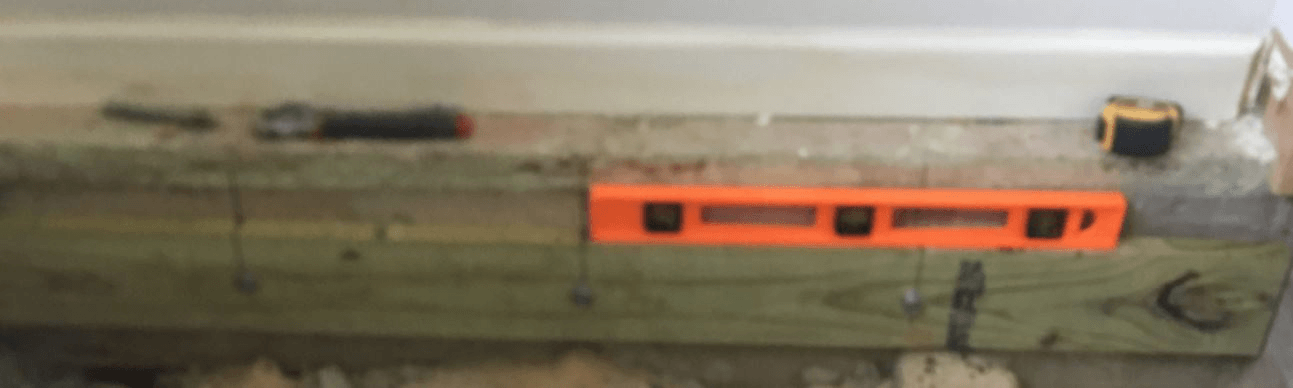
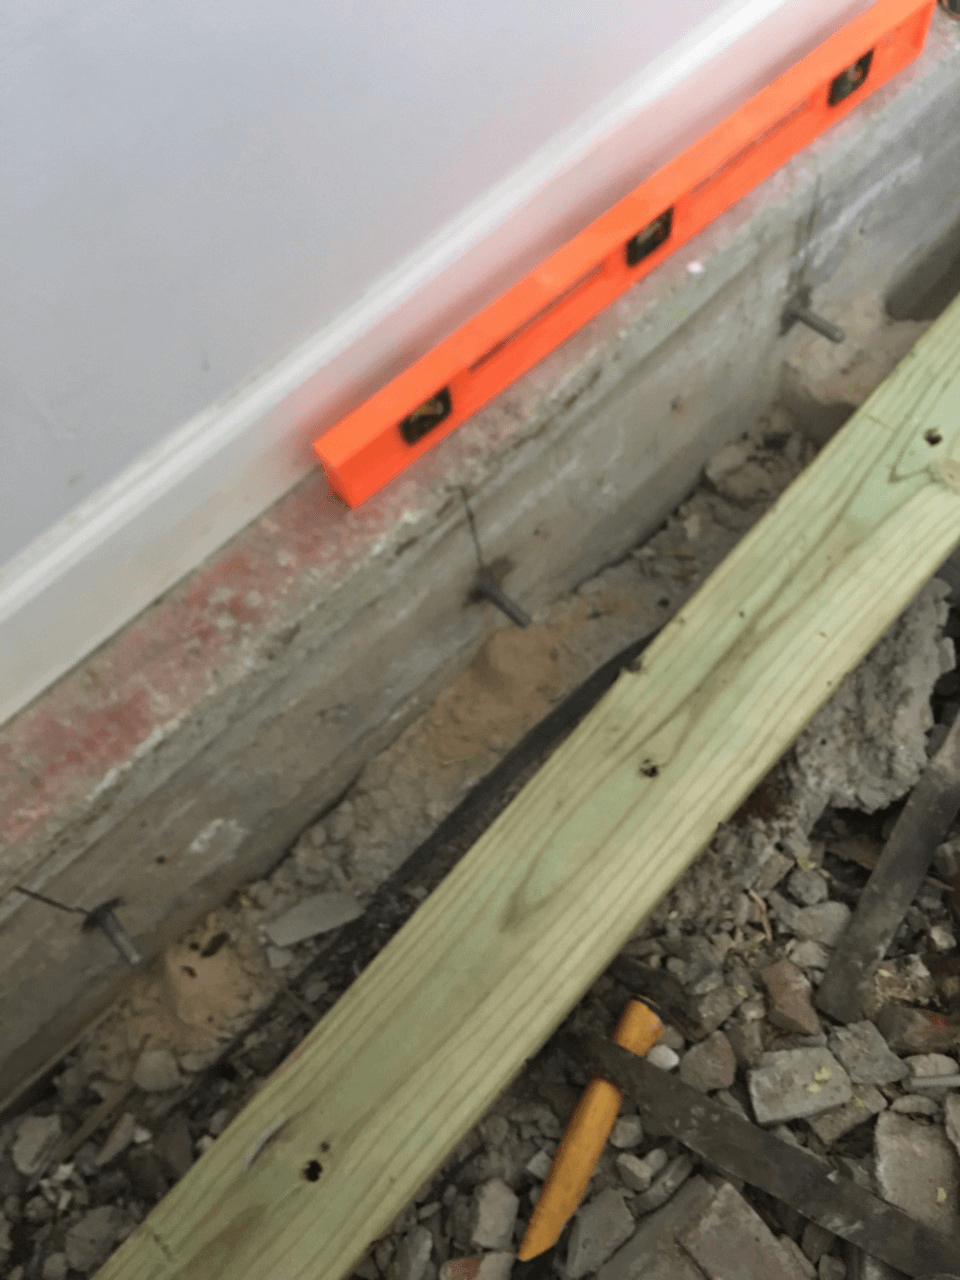
After you add the ledger check it for level. If its not level then you have to start over.

The bubble must be centered for level. Perfect!!!!The black marker helps me with layout;al ways have a pack of these. As you can see the washer and nut are also galvanized to prevent rust which would lead to decay and future movement of the system.
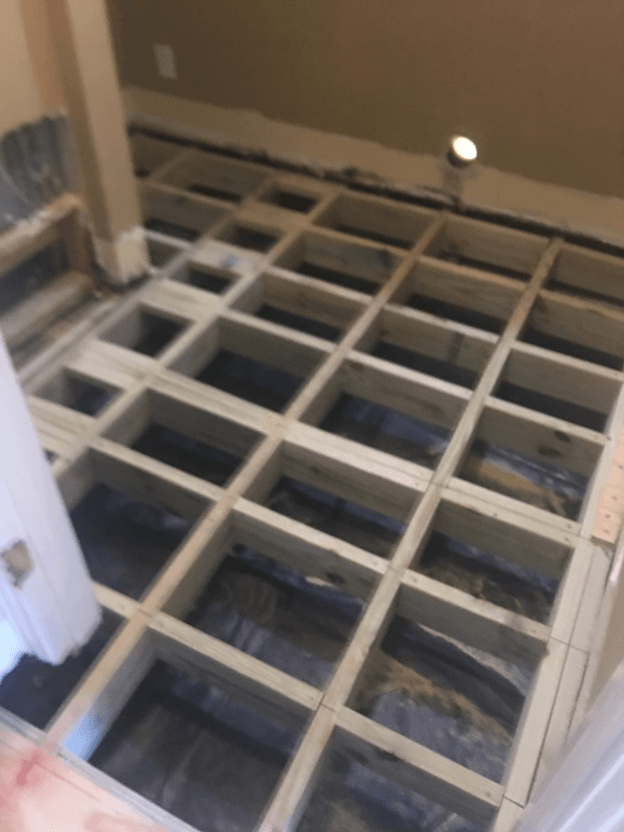
6 After the perimeter ledger system is installed you can start installing your joists 16 inches on center.
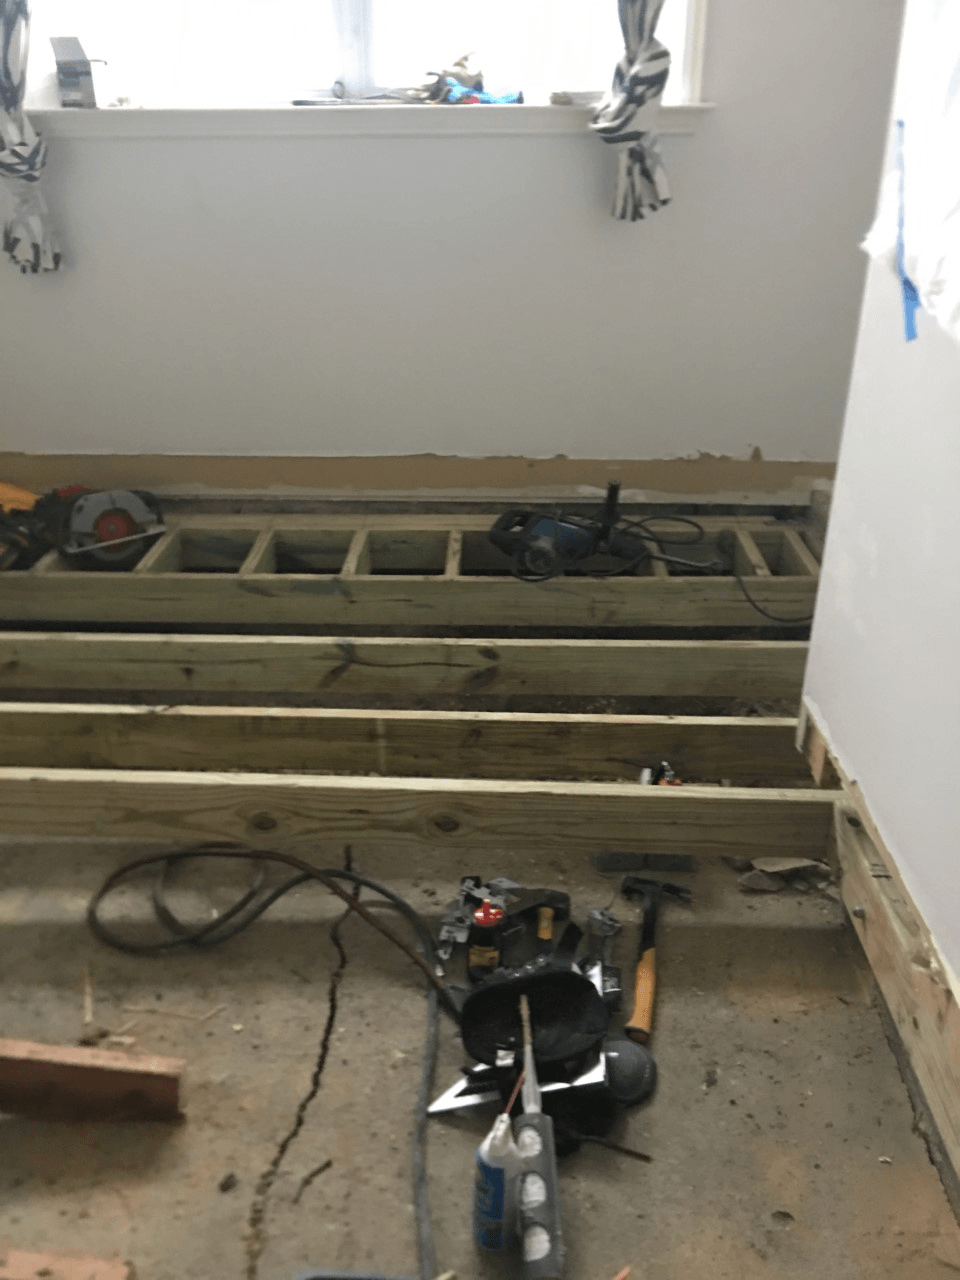
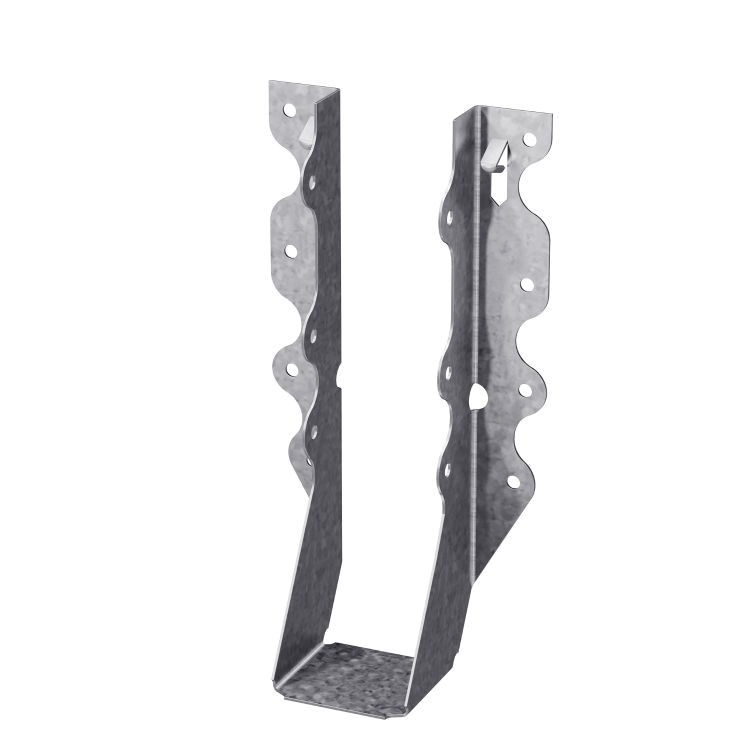
The joists are connected to the ledger with U hanger from Simpson Strong-Tie the best American made steel connectors company.

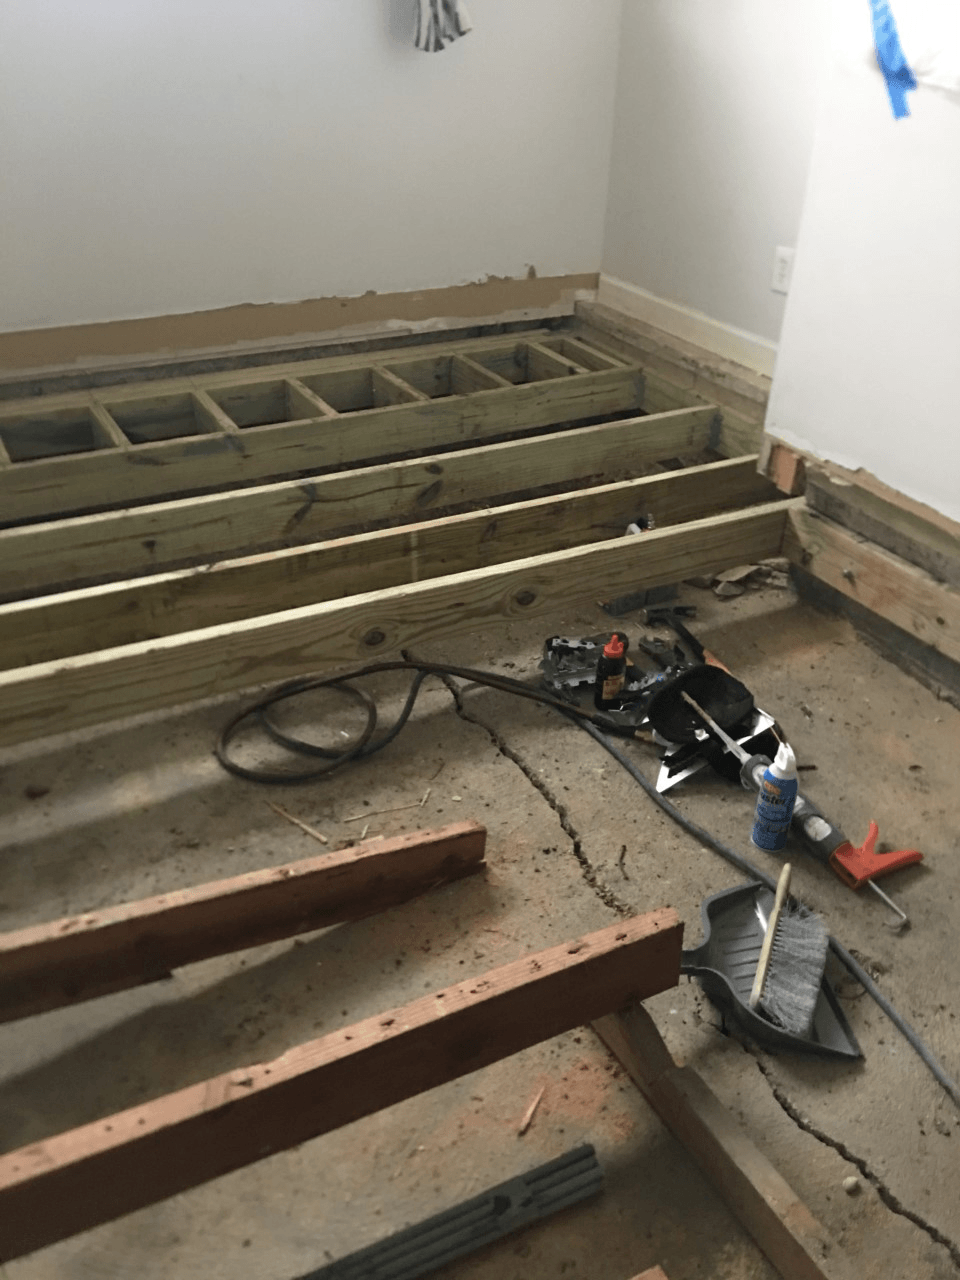
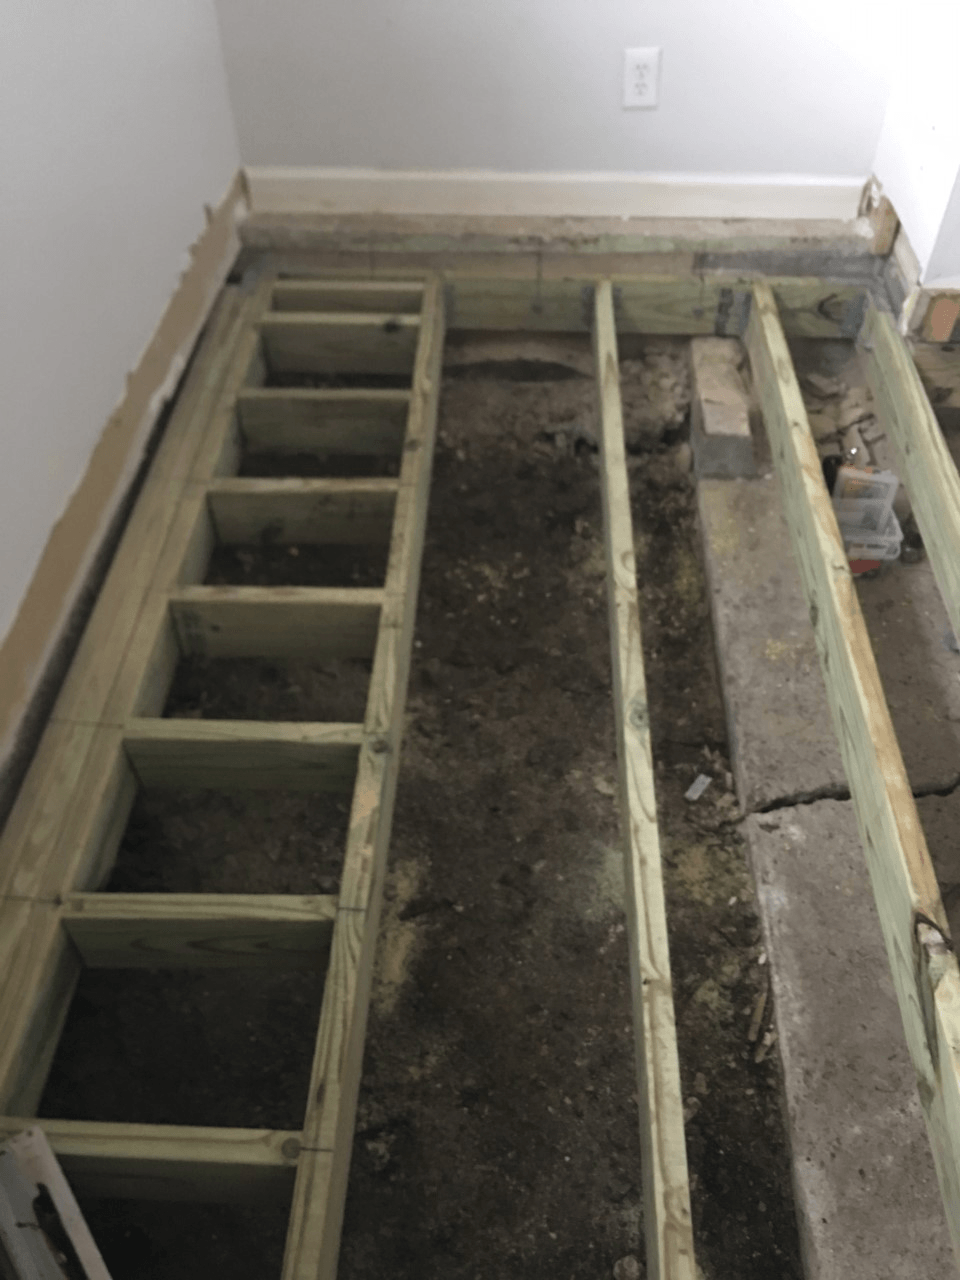
See how my new joist system is off the slab and tied into the house footing and curb system. The foreground is the new system the old system is in the front that was siting directly on the slab and you can see the crack it caused.
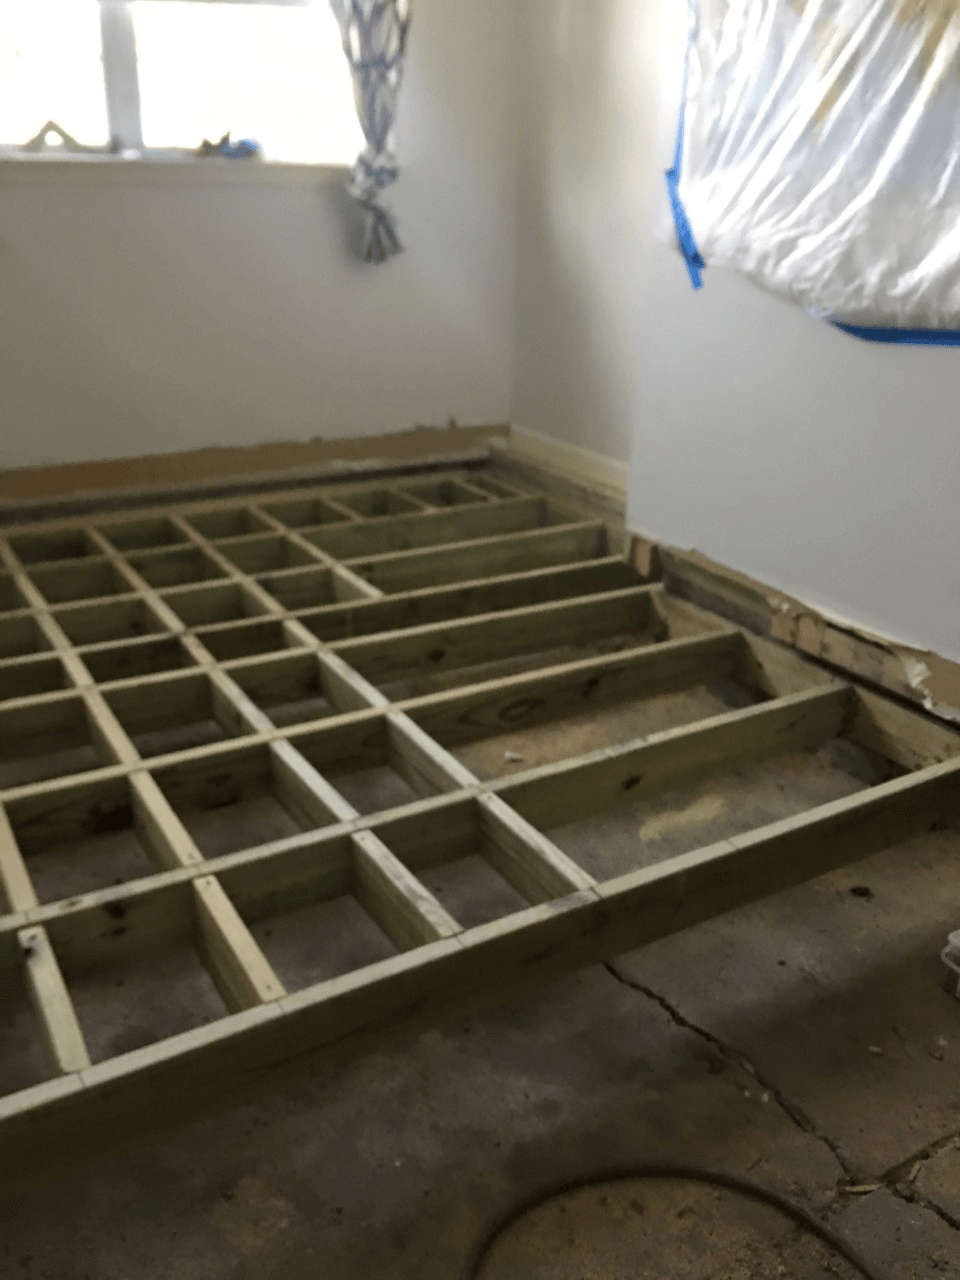
This is a picture with new joists tied into the new ledger system with subsequent blocking for the plywood to follow. All these little blocks take too much time but they are required if you want to meet the American Plywood Requirement of a nail every 6 inches on the perimeter of the plywood and 12 inches down the field. I haven’t seen one flooring company or contractor do this correctly in 10 years in Dallas. They skip this to give a lower price and they do not know what they are doing.
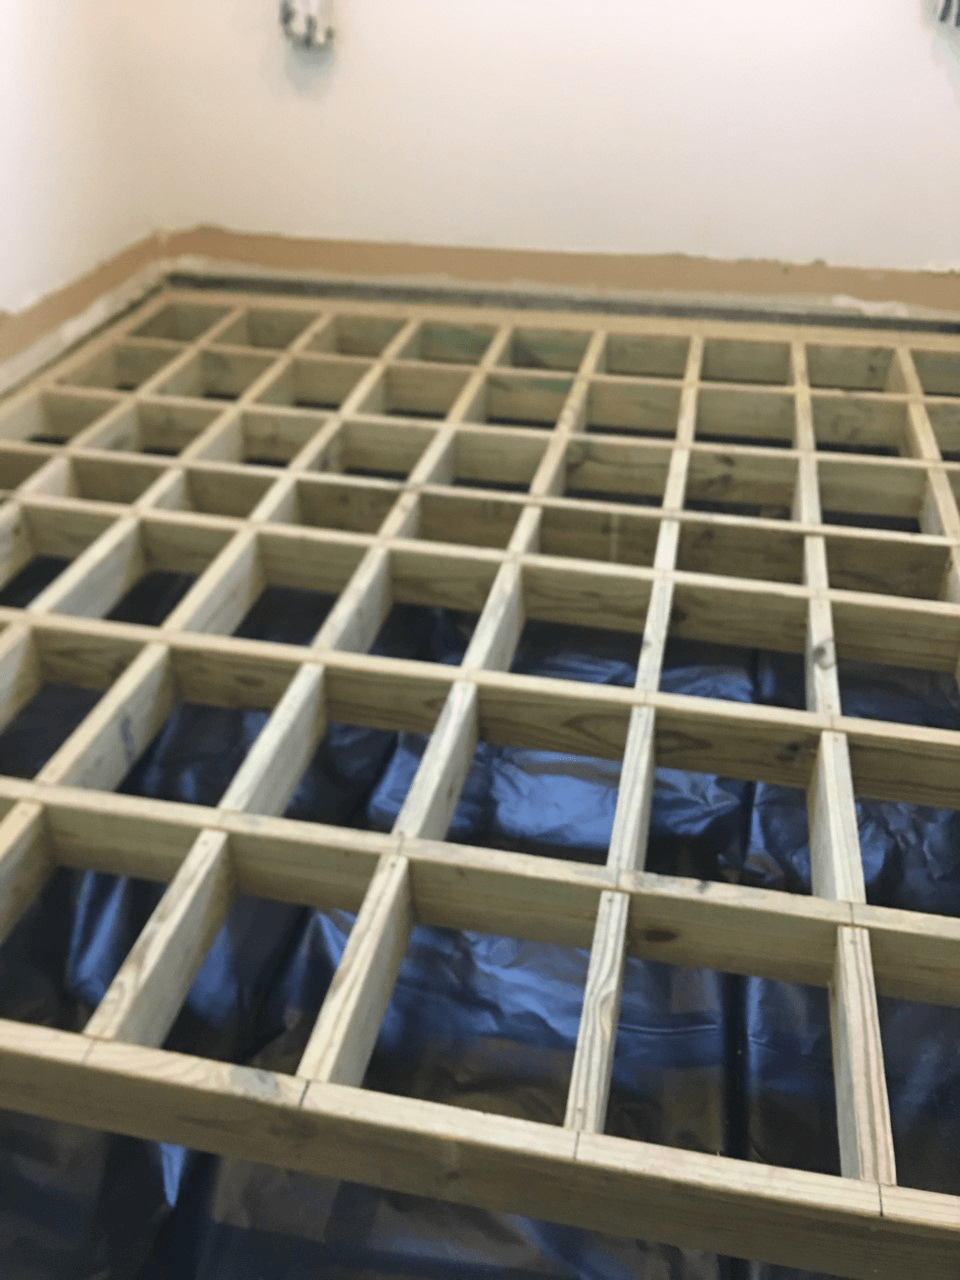
After the blocking and joists are done we fill the cracks in the concrete with backer rod material and self leveling sealant. Then we put down a vapor retarder of 6 mm black plastic. This will slow down the flow of moisture form dirt or a slab. Too much moisture too fast is the main cause of floor rot and problems. It is not a moisture barrier; as other contractor call it. A barrier blocks water and plastic does not block water mitigation is slows it down in its vapor form which classifies it as a vapor retarder.
7. Materials: CDX plywood 3/4, subflooring glue, 16D nails galvanized.
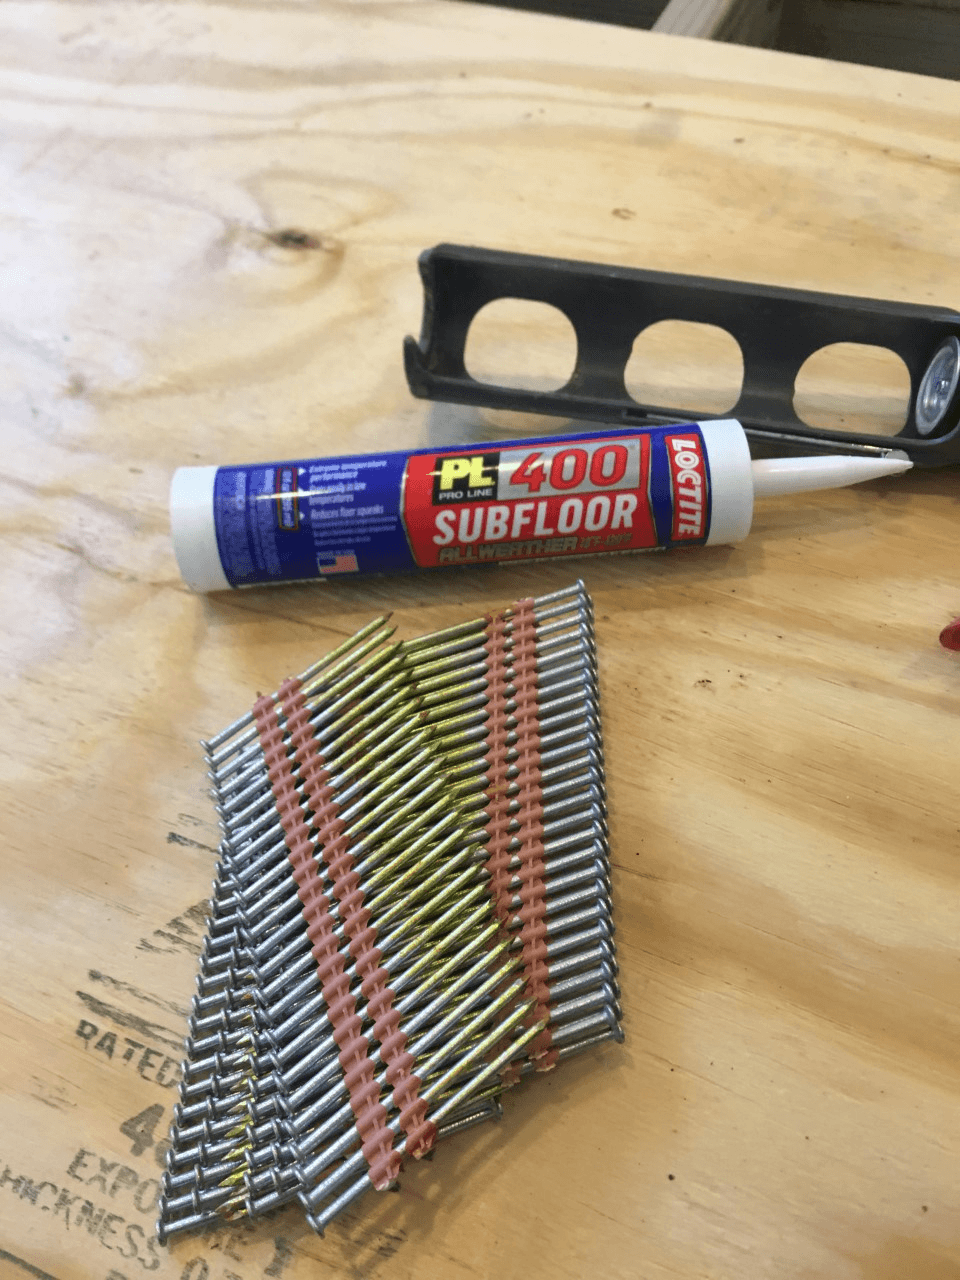
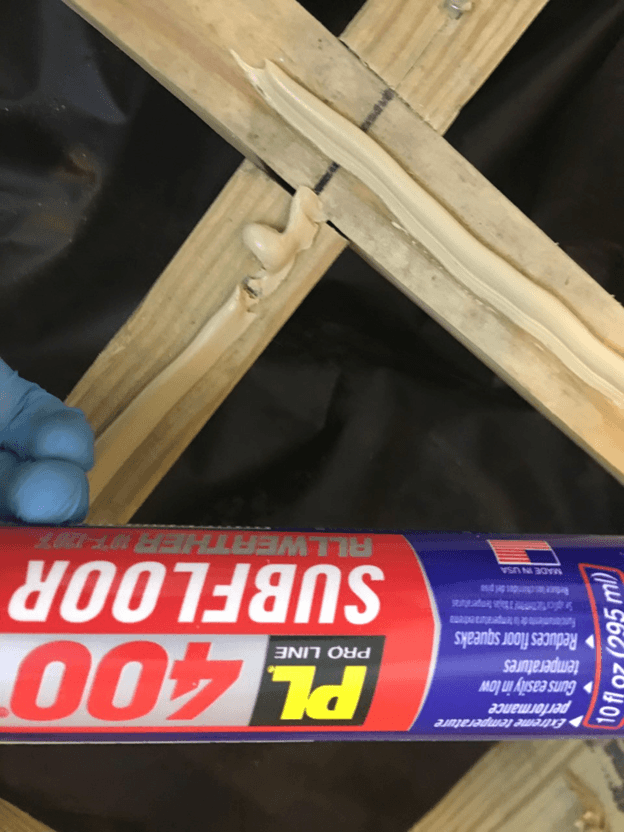
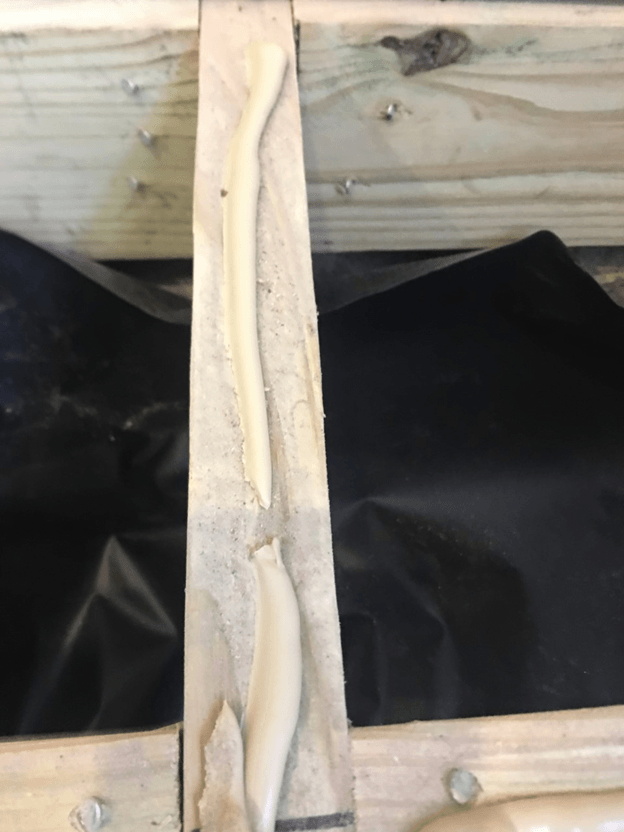
First add subfloor glue PL is the best in my opinion.
7.1 As you can see this blocking has both top nails and side nailing. This is required 3 nails on one side of a 2×6 and 2 on the opposite side. This is called a nailing sequence. All inspectors look at this.
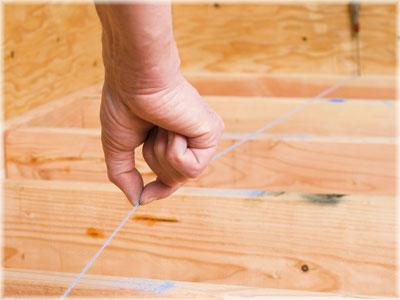
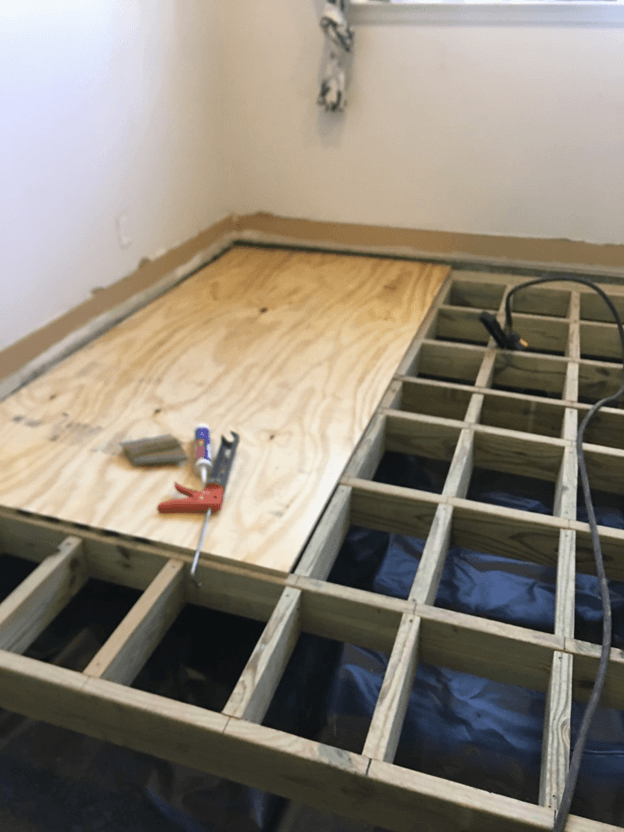
Perfect ready for plywood 3/4 inch. The first plywood in your layout is the most important. Here is the required means and methods per the American Plywood Assassination.
7.2 1/2″ to 3/4″ inch gap spacing at all perimeter walls. 1/8″ gap at all interior perimeter edges where the plywood is next to other sheets of plywood. The plywood has to sit half way on the blocking to be nailed too. No plywood should ever be shorter than 24 inches in any direction and all plywood for structural subflooring must have a Struct #1 grade. The nailing sequence is 6 and 12 as they say. So as you can see all this blocking was required.
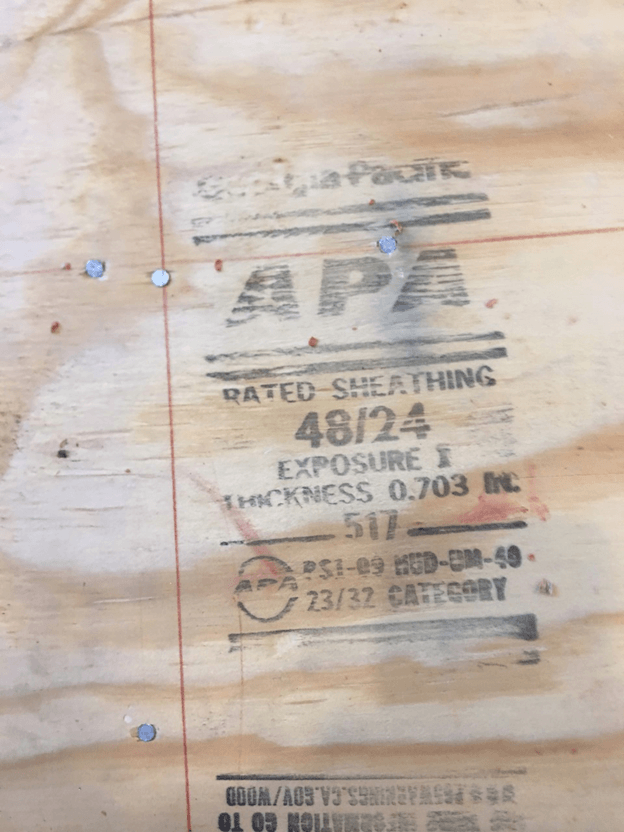
Plywood labels like this one has to always face up so the inspector can read the label. Plywood comes with label like this so you know which side to face up.
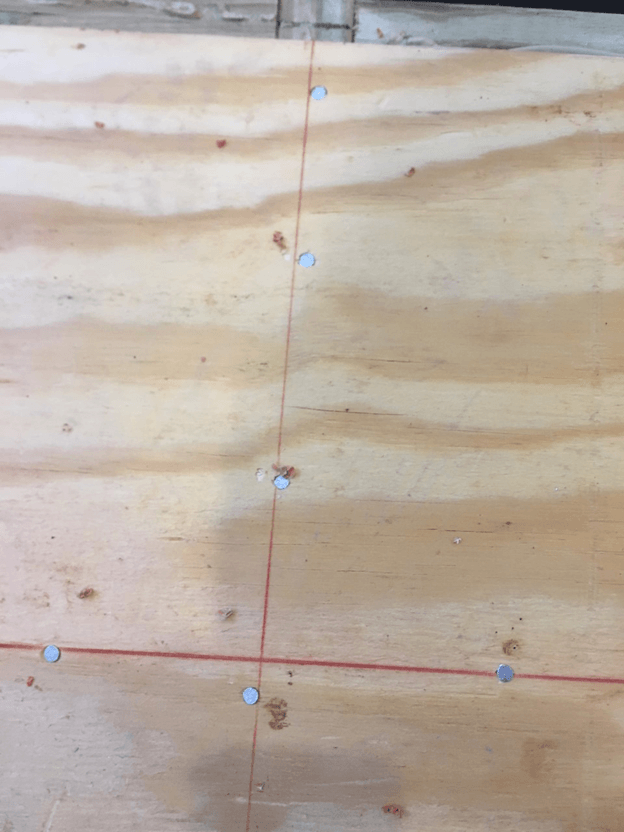
Nails every 6 inches and 12 inches

You can use a nail as your temporary spacer for 1/8th between sheets this is required for expansion and contraction of the floor system.
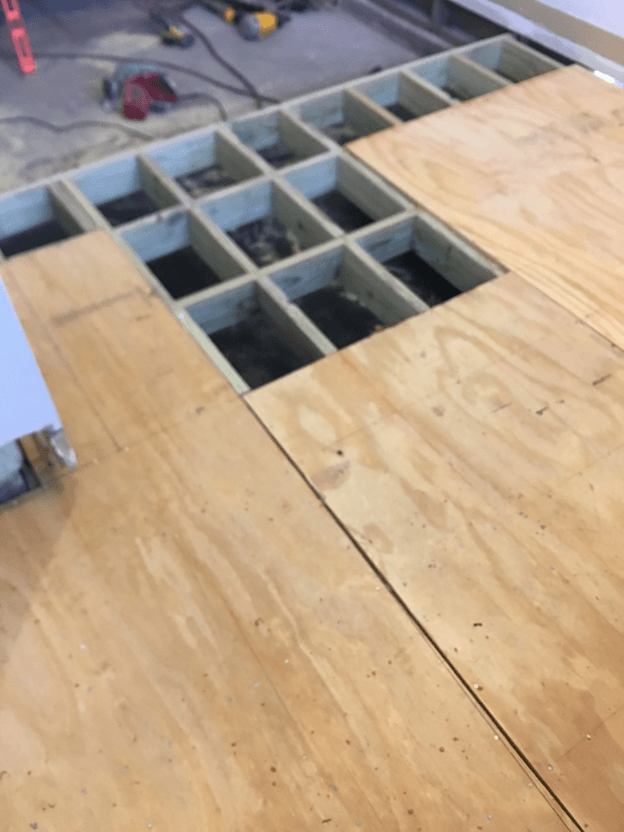
The plywood must be staggered full sheet half sheet with no end joint closer than 24 inches. Installers want to save money so they do this wrong by using scraps any where they can then they sell the sheets they were sappossed to use on the street or take it back to Home Depot for a credit.
Spacing and nail perfect!!!!
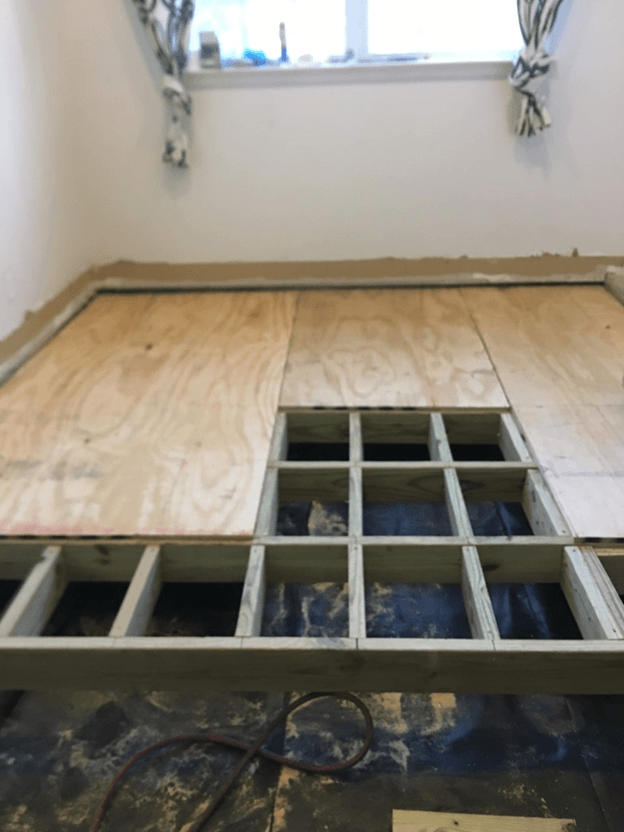
This is a hard cut to put a new joist under a load bearing wall and then add plywood.
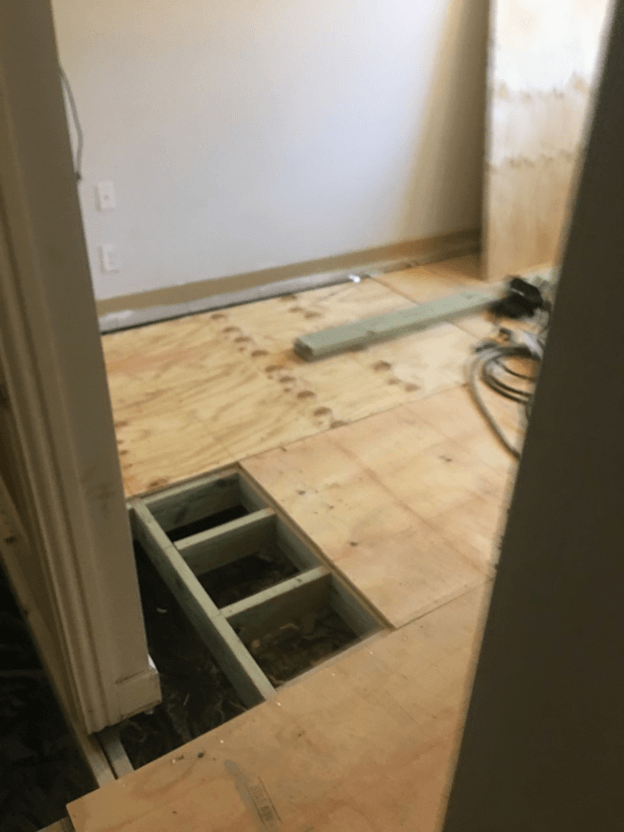
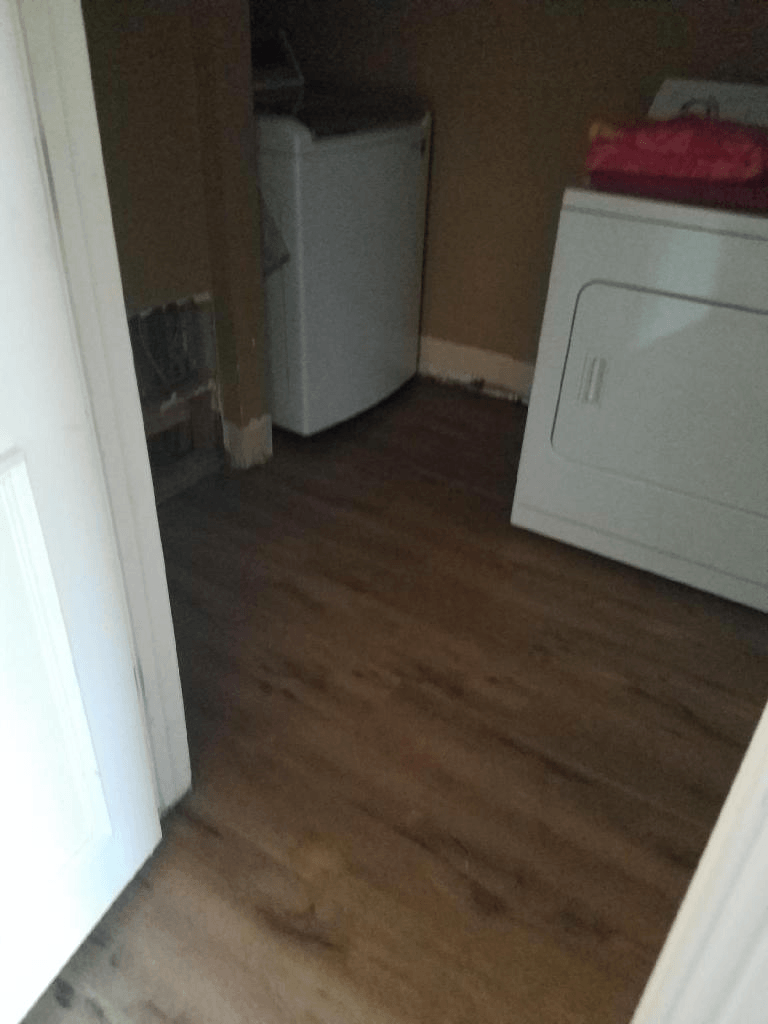
Laundry Room
New laundry room over cooper pipe going outside. New ledger in back ground with new anchor blots I added.
Just one piece left 🙂
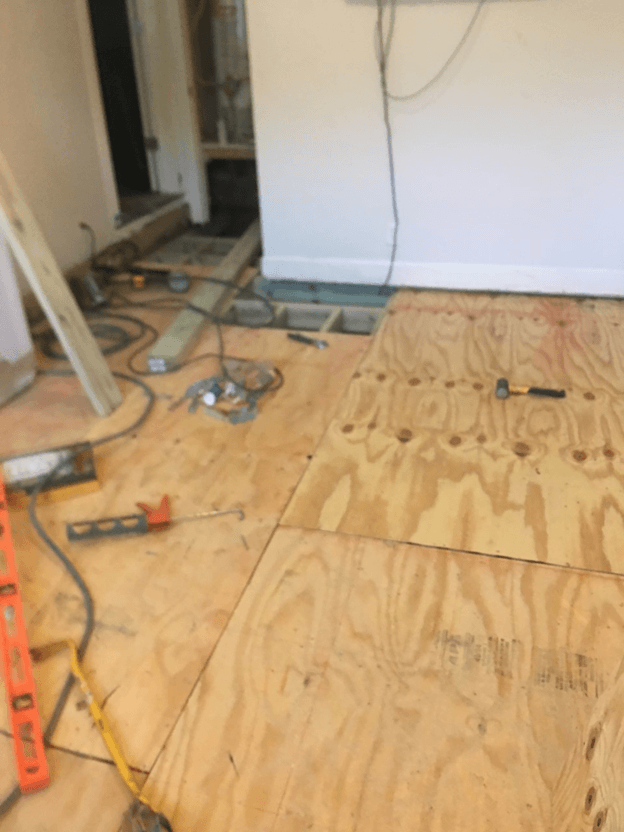
Done with the plywood.

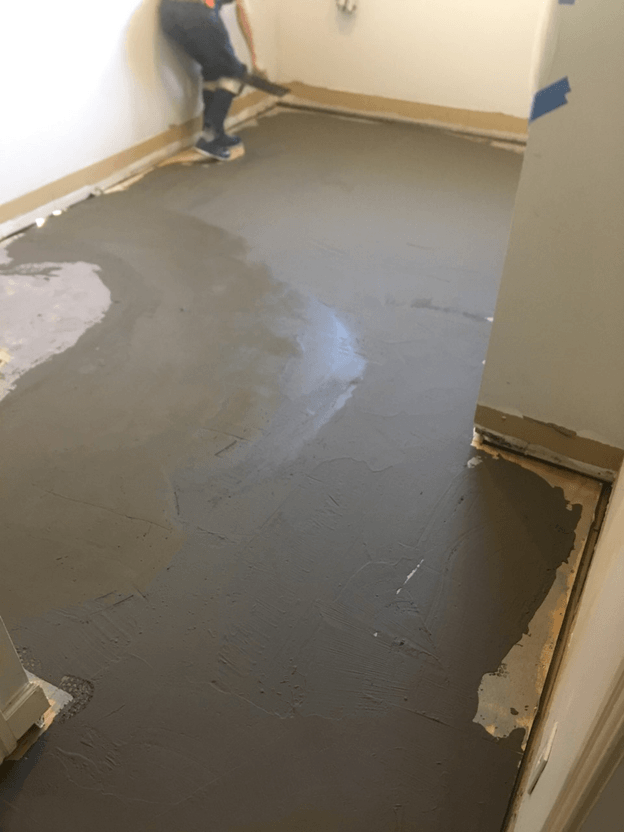
8. Next the floor is primed and leveled with a self leveling compound to make it extra extra flat.
9. Then we installed 2mm padding and water proof vinyl plank.
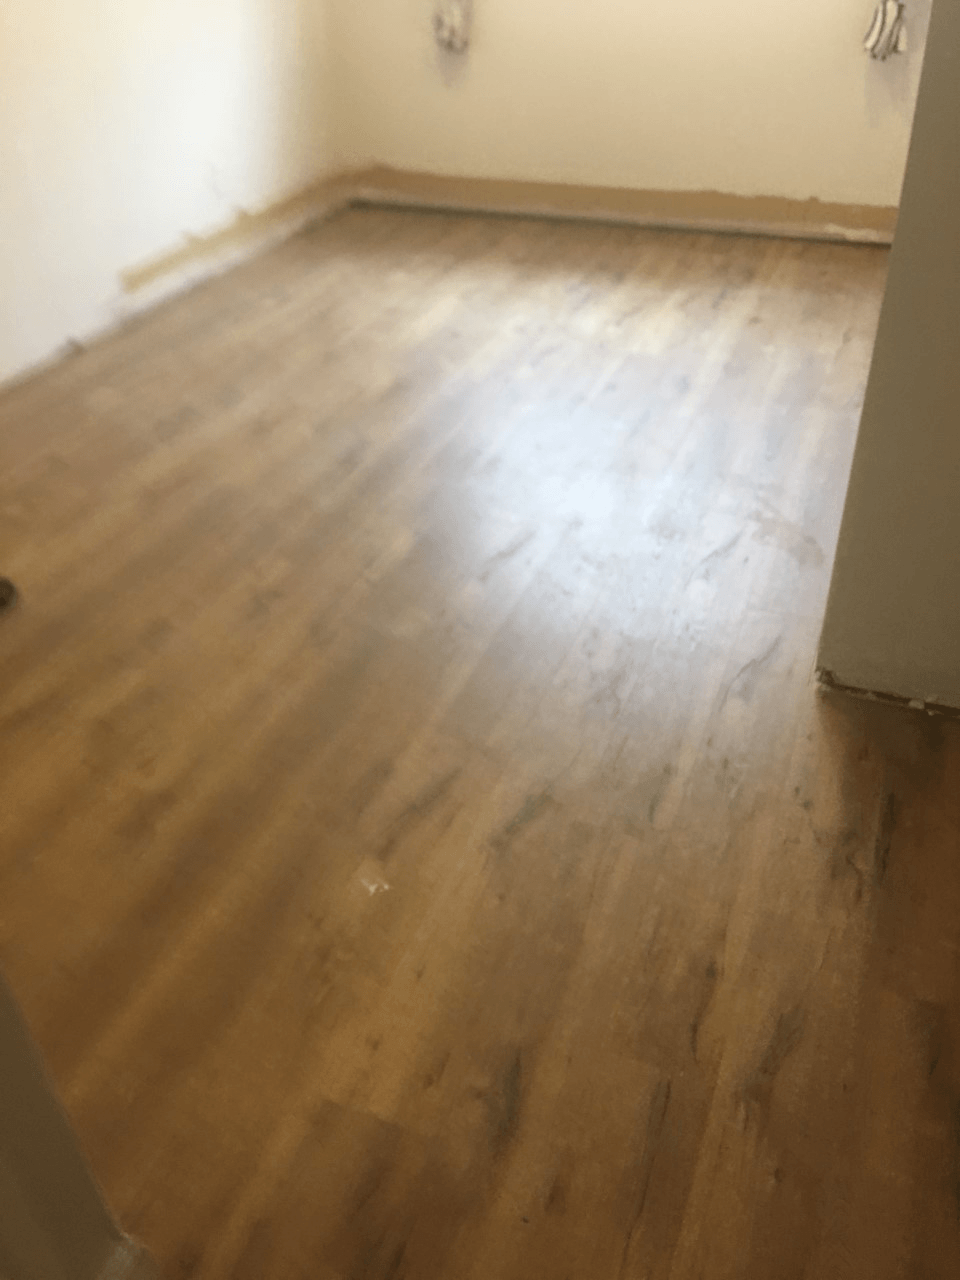
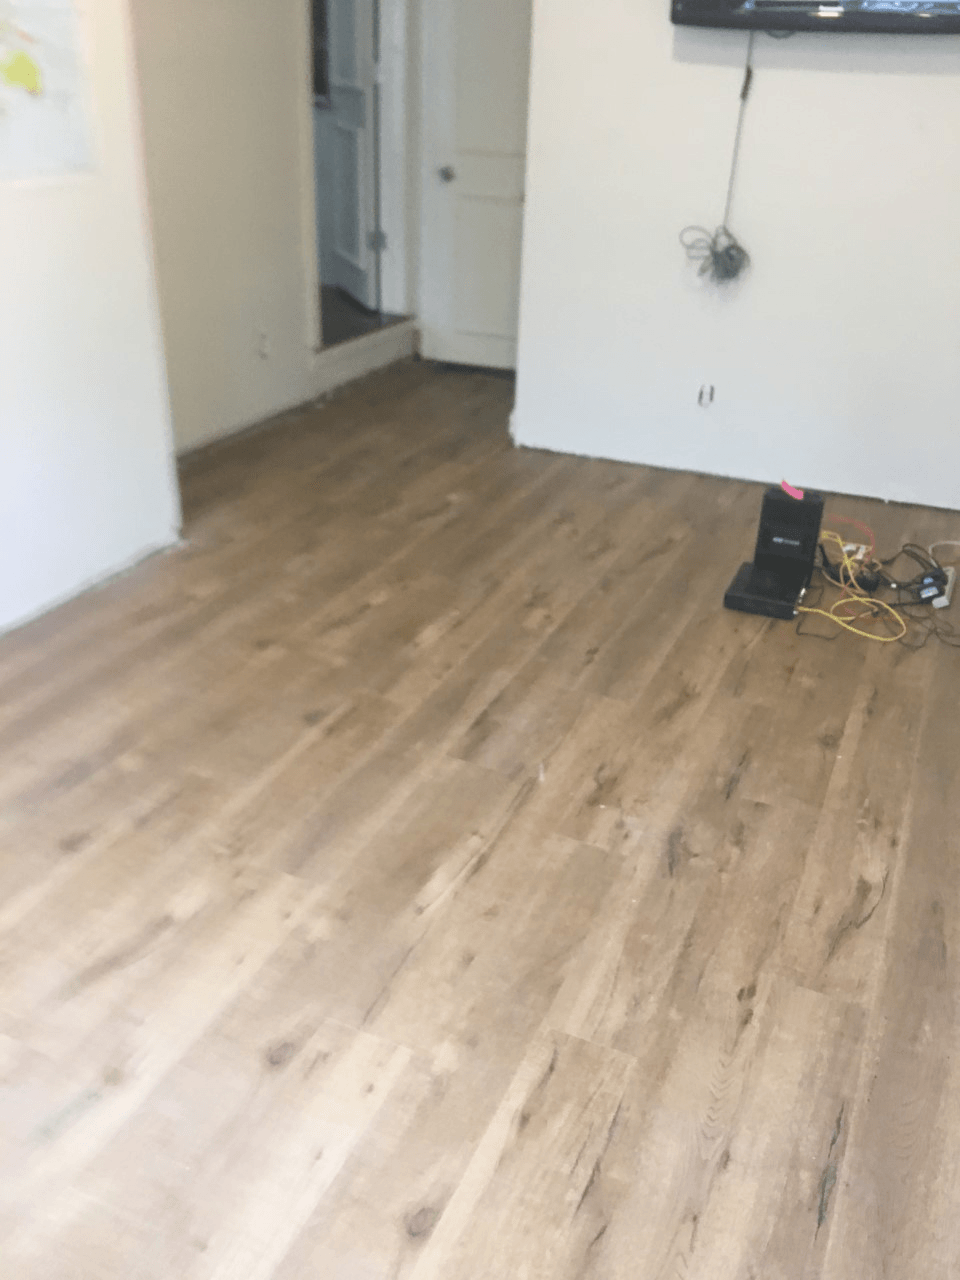
Perfect every time!!!!
The customer then had us come back and install new baseboards for him a month later. This job came out perfect as do all our jobs. 4 other flooring companies turned this job down they said they did not know how to fix this. I was the only one who did the customer told me after I was done.